
Publishing an article
Open your article from the Articles page, then click Publish in the top-right corner of the editor.1
Choose your audience
Select Public, Members only, or Paid members only. Paid members only requires paid memberships to be set up.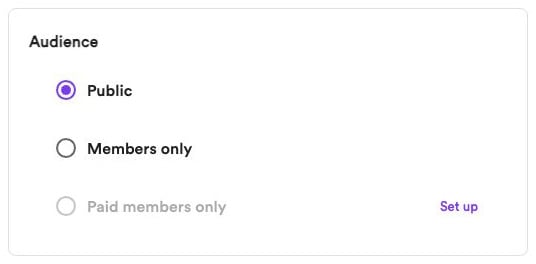
2
Choose delivery
Under Delivery, choose Publish and email, Publish only, or Email only. When you choose either email option, a separate Newsletter section appears below Delivery. Select the newsletter that should receive the article.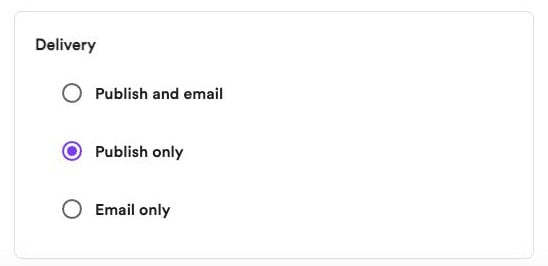
3
Add tags
Choose any tags you want to use. You can select more than one; the first is your primary tag.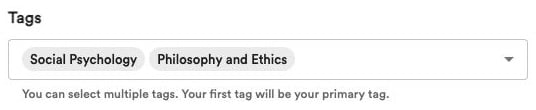
4
Review the social preview
Check how your article will appear when shared on social media. Click Edit to change its title, description, or image.
5
Publish
Click Publish article, Publish & send email, or Send email, depending on your delivery choice.
Sending as a newsletter
Email delivery requires newsletters to be enabled and a newsletter with subscribers. Newsletters with no subscribers cannot be selected, but you can still publish to your website without email. You can manage these in Newsletter settings. For Paid members only articles, only active paid members subscribed to the selected newsletter receive it. The email’s View in browser link appears only when the article is published on your website. Links included in the article content remain in the email. You can also send an article later: after publishing, click Send as newsletter in the editor. Learn more about sending newsletters.Email only sends a draft without publishing it on your website. For an already-published article, it sends the email without republishing or unpublishing the web article. An article that has already been emailed cannot be sent again.