Enable newsletters
Turn on Newsletter sending to enable email delivery. If you don’t have a newsletter yet, Convella creates one using your website’s name.Newsletter sending is unavailable when subscription access is set to Nobody. Update Membership → Access first.
Settings
The Settings tab controls your newsletter’s identity and subscriptions.Name and description
- Newsletter name — The name readers see when choosing newsletters and managing their preferences.
- Description — A short explanation of what readers can expect.
Email information
- Sender email — The address your emails come from. This is shown for reference; all newsletters on your website share it.
- Sender name — The name displayed in recipients’ inboxes.
- Reply-to email — Where readers’ replies are delivered. Leave it blank to use your account email.
Your sender address doesn’t create an inbox. Use Reply-to email to receive readers’ replies at an address you manage.
Custom sending domain
To send from your own domain, click Manage beside Custom sending domain.1
Connect your website domain
First connect a custom domain to your website. If setup is incomplete, click Finish domain setup and follow the prompts.
2
Set up email sending
Click Set up sending domain and follow the guided DNS setup. Your sender address will be
newsletter@yourdomain.com.3
Wait for verification
While verification is pending, the dialog shows Verifying email authentication and secure tracking. When ready, it shows Sending from followed by your sender address.
You can’t send newsletters while custom sending-domain verification is pending. Use Finish email setup to complete it, or Use the default sender to resume sending with your Convella address.
Member settings
Enable Subscribe new members on signup to automatically subscribe new members to this newsletter. Manage individual subscriptions from Members.Content
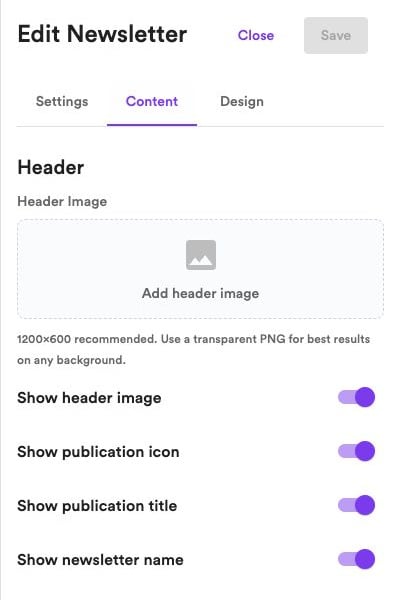
Under the Content tab, choose what appears in your emails:- Header image — Upload an image and choose whether to show it. The recommended size is 1200 × 600 pixels.
- Branding — Show or hide your publication icon, publication title, and newsletter name.
- Article title — Show or hide the article title in the email body.
- Email footer — Add custom text at the bottom of your emails.
- Promote independent builders — Control the small footer badge. Hiding it requires an eligible plan.
Design
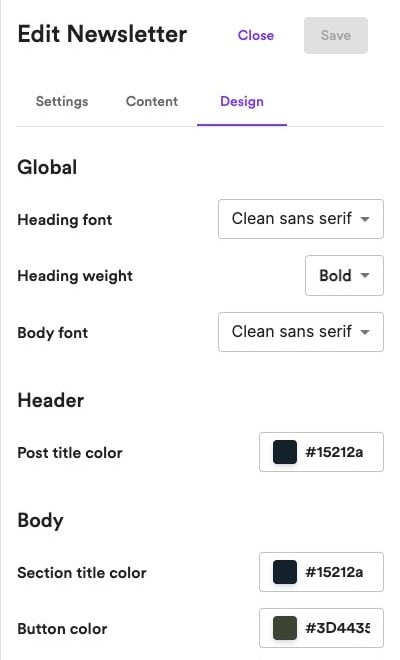
Under the Design tab, customize:- Typography — Heading and body fonts, plus heading weight.
- Colors — Article titles, section headings, buttons, links, and dividers.
- Link style — Underlined, bold, or italic links.
- Image corners — Square or rounded images.